Develop a headless Shopify site with Next.js Commerce and visual editing
- Authors

- Link
- Yang Zhang
- Last updated
If you want to use Shopify as your commerce backend but want to create a custom website design, a modern, high-performance, high-velocity stack for this is to use the Next.js Commerce starter kit, together with the Plasmic visual building and content platform.
In this tutorial, we’re going to show exactly how to build this.
What is Next.js Commerce?
Next.js Commerce is the official starter kit from Vercel for building storefronts that connect to any commerce backend.
What makes it interesting as a starter kit is that it comes with the commerce platform integrations built-in, so that you can focus on building your unique site experience rather than plumbing.
It furthermore abstracts away the APIs of the different backends, so that you have a single unified API across any commerce backend. Note though that as your storefront grows in complexity, you will likely start reaching for direct API access to the Shopify storefront API without going through the abstraction layer. But it already includes all the basic functionality you would need from a Shopify storefront.
What is Plasmic?
Plasmic is a powerful page builder + headless CMS + growth optimization suite that integrates deeply with your codebase.
With Plasmic, marketing teams can build fast-loading landing pages and any other content of the website without filing work on developers.
But unlike a generic website builder, it works seamlessly with your codebase, letting you drag and drop your React components (and you can even restrict your editors to these designated components, ensuring site-wide consistency).
Importantly for storefronts, Plasmic comes with Next.js Commerce components built-in, so you can instantly drag and drop product galleries and more from your Shopify store. Plasmic is proud to power fast-growing DTC brands like Yours and Beard Struggle.
Without further ado, let’s see how to get started with Next.js Commerce and then with Plasmic!
Clone and deploy Next.js Commerce
Before you start: You will need a Shopify store in order to get started. If you don’t already have one and are just interested in learning, you can create a Shopify store for free by first setting up a partner account.
Let’s start by immediately deploying a new Next.js Commerce project straight to production. It’s good to get something up and running end-to-end in production first, and then continuously make changes to it over the course of your development.
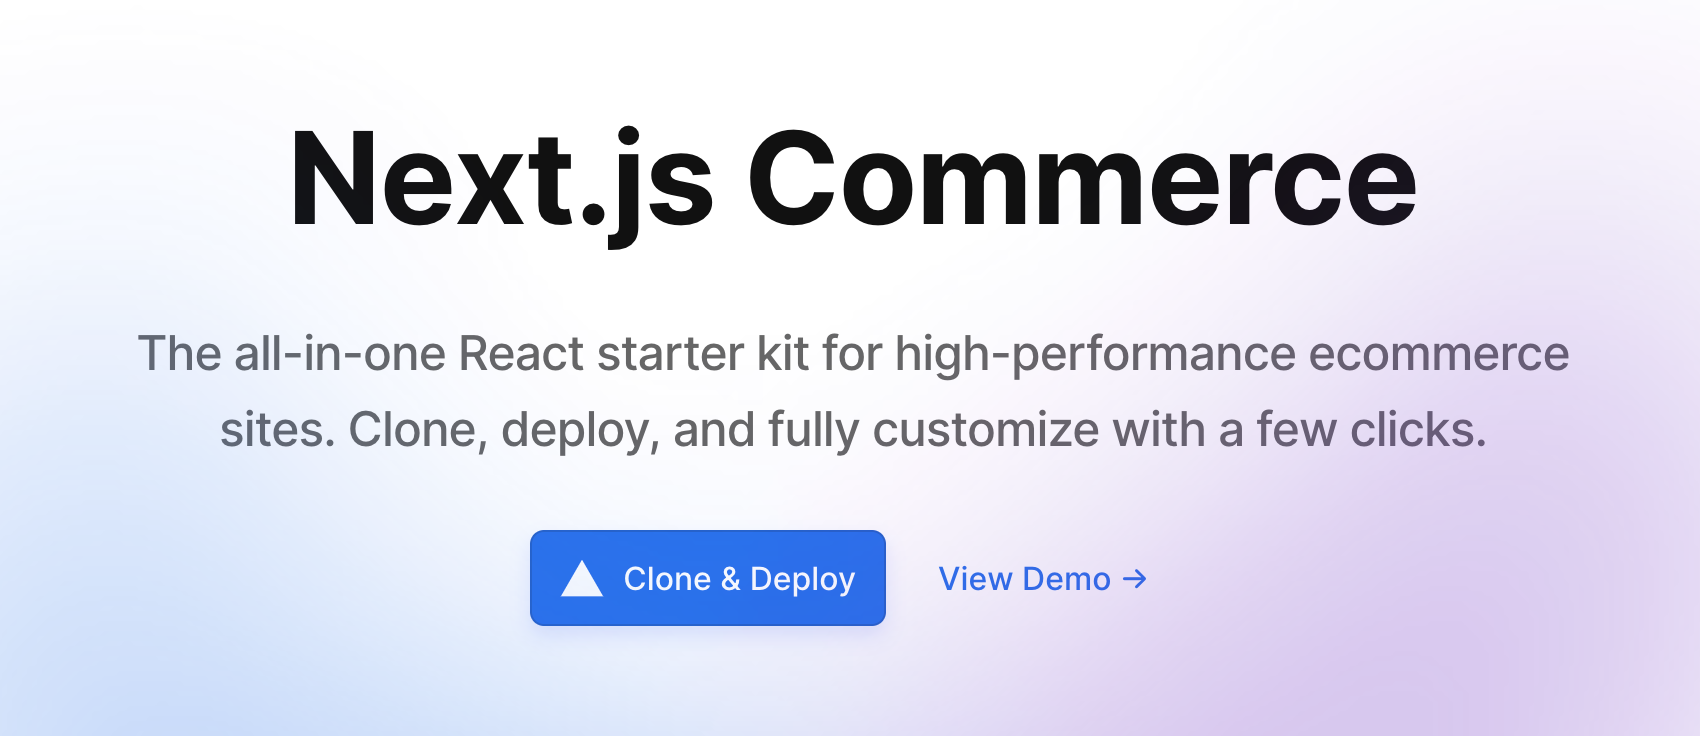
The easiest way to do this is to go to the Next.js Commerce homepage and click the “Clone & Deploy” button.
This will do a number of things all together:
- Clone the official Next.js repo into your GitHub account.
- Prompt you to add Shopify integration in a few clicks.
- Deploy to Vercel.
What this is doing behind the scenes: You’re installing a Shopify app from Vercel into your Shopify store. This automates some boilerplate steps for you—most importantly for now, it automates creating a storefront API token. This is the API token that lets websites (like the one you’re about to build!) query public data from your Shopify store.
Alternatively, you can fork the repo yourself from GitHub. Then manually create a storefront API token by following these instructions.
Now, you should see your site up and running!

Set up your local development env
Clone the repo to your codebase, replacing USER/commerce with the name of your repo:
git clone git@github.com:USER/commerce.git
Go to your Vercel project > Settings > Environment Variables. Copy the tokens you see into your .env.local.
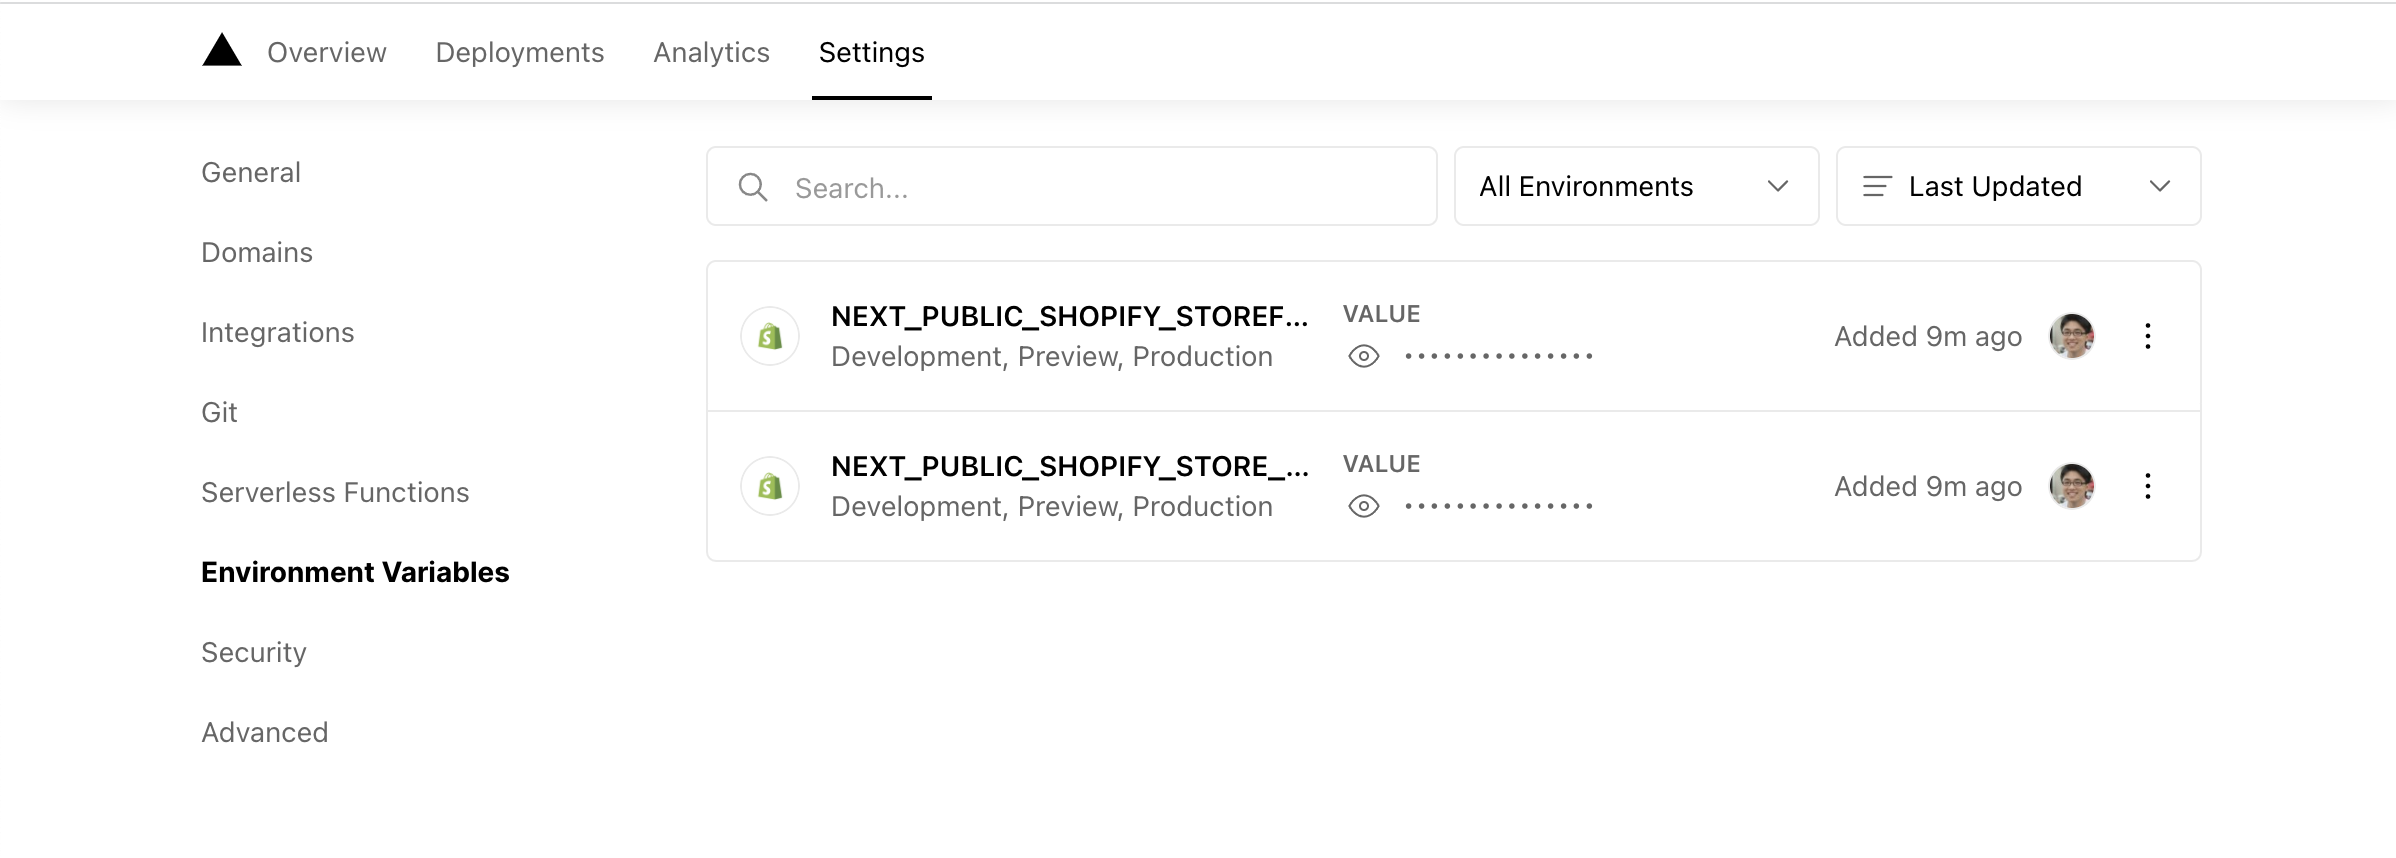
And also add COMMERCE_PROVIDER=shopify, so that the .env.local looks like:
COMMERCE_PROVIDER=shopify
NEXT_PUBLIC_SHOPIFY_STOREFRONT_ACCESS_TOKEN=...
NEXT_PUBLIC_SHOPIFY_STORE_DOMAIN=...
Now start your development server!
yarn dev
In your browser, go to http://localhost:3000, and you should see your same storefront:
Get started with visual page building
Everything up till now just creates a generic clone of the Next.js Commerce app. But now it’s time for you to really customize the app to your particular store, starting with the main landing page.
When working on landing pages and other marketing content on the website, developers can build these by hand. Alternatively, you can let non-developers (such as the marketing and design teams) directly edit and create new pages by using Plasmic, the visual page builder for Next.js.
It has the same suite of providers from Next.js Commerce built-in.
Now let’s start with adding Plasmic visual page building to your Next.js Commerce site.
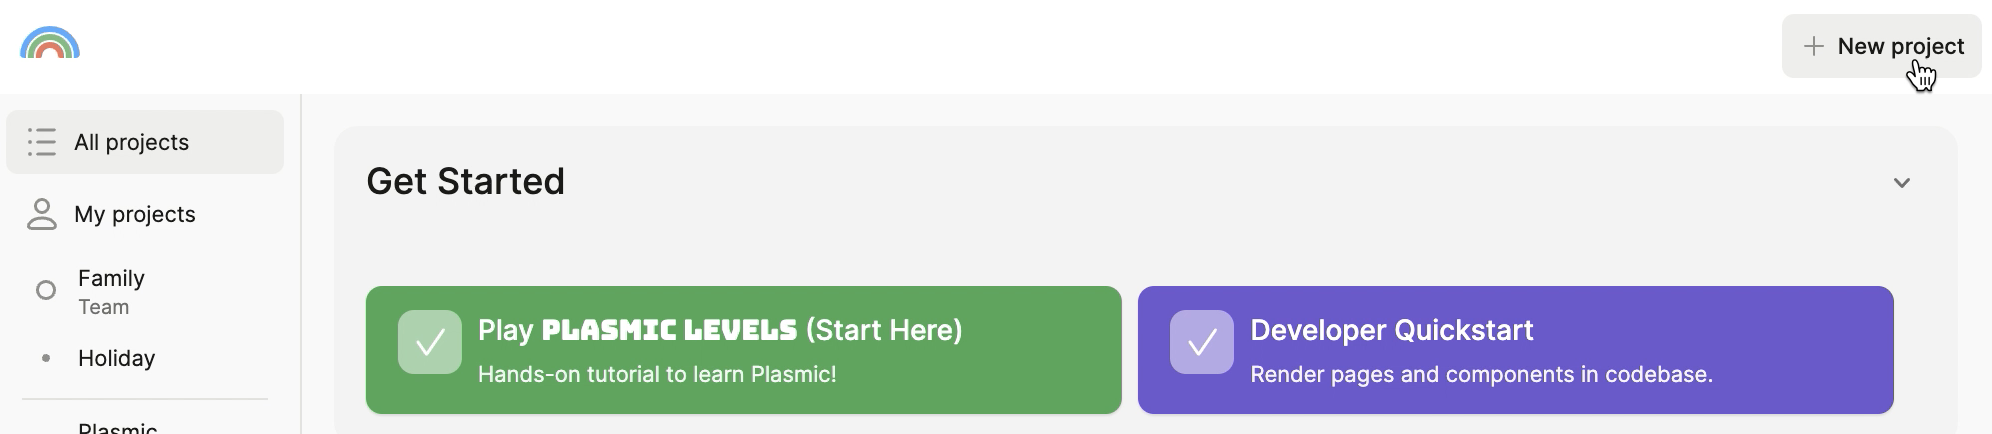
Next, create a new project.
Let’s choose to create a Blank project.
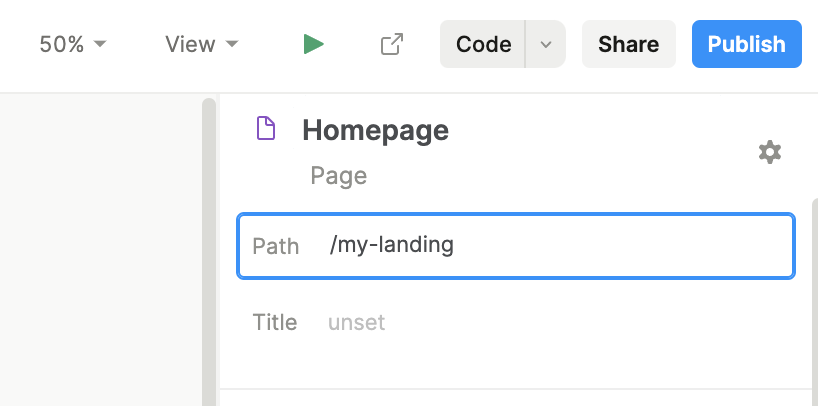
Give the homepage a route like /my-landing. This is where we’ll want the page to show up in your website. You can do this from the top right of the page.
Integrate Plasmic into your repo
Install Plasmic:
npm install @plasmicapp/loader-nextjs
Now integrate Plasmic by adding a single file.
Create pages/[[...plasmicPath]].tsx and paste the following, replacing PROJECTID and APITOKEN by opening up your Plasmic project:
- The project ID is in the URL, like:
https://studio.plasmic.app/projects/PROJECTID. - The public API token can be found by clicking the Code toolbar button.
import {
  initPlasmicLoader,
  PlasmicRootProvider,
  PlasmicComponent,
  ComponentRenderData,
  extractPlasmicQueryData,
} from '@plasmicapp/loader-nextjs'
import * as React from 'react'
import { GetStaticPaths, GetStaticProps } from 'next'
import Error from 'next/error'

const PLASMIC = initPlasmicLoader({
  projects: [
    {
      id: 'PROJECTID', // ID of a project you are using
      token: 'APITOKEN', // API token for that project
    },
  ],
  // Setting this to true fetches the latest revisions, whether or not they were unpublished!
  // Disable for production to ensure you render only published changes.
  // preview: true,
})

/**
 * Use fetchPages() to fetch list of pages that have been created in Plasmic
 */
export const getStaticPaths: GetStaticPaths = async () => {
  const pages = await PLASMIC.fetchPages()
  return {
    paths: pages.map((page) => ({
      params: { plasmicPath: page.path.substring(1).split('/') },
    })),
    fallback: 'blocking',
  }
}

/**
 * For each page, pre-fetch the data we need to render it
 */
export const getStaticProps: GetStaticProps = async (context) => {
  const { plasmicPath } = context.params ?? {}

  // Convert the catchall param into a path string
  const plasmicPath =
    typeof catchall === 'string'
      ? catchall
      : Array.isArray(catchall)
      ? `/${catchall.join('/')}`
      : '/'
  const plasmicData = await PLASMIC.maybeFetchComponentData(plasmicPath)
  if (!plasmicData) {
    // This is some non-Plasmic catch-all page
    return { props: {} }
  }
  // This is a path that Plasmic knows about
  // Cache the necessary data fetched for the page
  const queryCache = await extractPlasmicQueryData(
    <PlasmicRootProvider loader={PLASMIC} prefetchedData={plasmicData}>
      <PlasmicComponent component={plasmicData.entryCompMetas[0].name} />
    </PlasmicRootProvider>
  )
  // Pass the data and cache in as props
  // Using incremental static regeneration, will re-generate this page
  // after 300s
  return { props: { plasmicData, queryCache }, revalidate: 300 }
}

/**
 * Actually render the page!
 */
export default function CatchallPage(props: {
  plasmicData?: ComponentRenderData
  queryCache?: Record<string, any>
}) {
  const { plasmicData, queryCache } = props
  if (!plasmicData || plasmicData.entryCompMetas.length === 0) {
    return <Error statusCode={404} />
  }
  const pageMeta = plasmicData.entryCompMetas[0]
  return (
    // Pass in the data and queries fetched in getStaticProps as prefetchedData and prefetchedQueryData
    <PlasmicRootProvider
      loader={PLASMIC}
      prefetchedData={plasmicData}
      prefetchedQueryData={queryCache}
    >
      {
        // plasmicData.entryCompMetas[0].name contains the name
        // of the component you fetched.
      }
      <PlasmicComponent component={pageMeta.name} />
    </PlasmicRootProvider>
  )
}
Note: the [[...plasmicPath]].tsx syntax is a Next.js optional catch-all route. This will handle routing to any route that isn’t already handled by something else, including the / route if you created a page for this in Plasmic.
Now if you open up http://localhost:3000/my-landing in your browser, you’ll see the page from Plasmic!
Build your landing page
We won’t turn this into a tutorial on how to use the Plasmic Studio visual editor, so we’ll keep the customizations pretty simple.
Watch this video which shows all the following steps in action.
Change the heading
Double-click the heading text to change it to the name of your storefront, or “Winter Sale”.
Use the controls on the right sidebar to style it however you’d like.
Select the text element below it, and press delete to remove it.
Add Shopify integration
Press the big blue plus button, and select “Add component packages.”

Search for “Shopify” and insert that.
Configure the package as prompted. Remember the NEXT_PUBLIC_SHOPIFY_STOREFRONT_ACCESS_TOKEN and NEXT_PUBLIC_SHOPIFY_STORE_DOMAIN from before? Plug those in here.
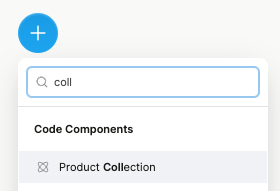
Add a product gallery
Press the big blue plus button, and insert a Product Collection component:
With it selected, choose a collection from the dropdown in the right sidebar.
Design this however you’d like! Add more fields or Add To Cart buttons, and use any layout. Configure any other settings on the collection itself as well.
Under the hood, these are implemented using Next.js Commerce! The one major difference is that all the data fetching supports optimal pre-rendering during static site generation or server-side rendering.
Publish from Plasmic
Press the blue Publish button in the top right, and press Publish again after the modal loads.
Re-open your http://localhost:3000/my-landing Next.js page in a separate tab, and see the updated design!
This works not only on your localhost, but in production as well, once you git push your code to production on Vercel. Within 5 minutes (or however long you set your revalidate timer to), you’ll see the changes reflected in production. Thanks to incremental static regeneration that we configured earlier, you don’t need to trigger any rebuilds or deploys.
From now on, any editors in Plasmic can publish updates to the site at any time without bugging developers.
Let the team edit visually
Now you—or anyone on your team—can go to town with your page-building!
Here’s a few important things you can do as next steps:
- Set up your team: From your logged-in dashboard, you can create a team, invite your collaborators in varying roles, and collect all your projects in one place.
- Bring your own React components: You can let editors drag-and-drop your own React components, including sections, interactive components like carousels, and any other building blocks. To get started, press the “Code” toolbar button in your project, and follow the instructions for code components. (Note that the most common data components for storefronts—displaying products—is already built-in to Plasmic, as we saw earlier.)
- Set up a CMS: Within your team, you can create a database of structured content, for things like blog posts and testimonials. You can then drag and drop this data into your pages, or use it as a headless CMS and consume the content directly from your code via API.
- Content editor mode: Limit the types of changes certain roles can make to using existing components, to ensure consistency/control over the site and make a more approachable editing experience.
Next steps
There’s a lot more to learn about designing in the Plasmic visual editor. You can learn the ropes of the by playing the Plasmic Levels tutorial project.
With Plasmic, we want to empower any brand to rapidly build beautiful, responsive, and performant landing pages and other marketing content on their storefront. We want Plasmic to be the most versatile visual editor for any website tech stack, but especially Next.js.
Want to go deeper in learning how to develop on the Next.js Commerce codebase? We have published a full in-depth guide!
If you made it this far, connect with us on Twitter for the latest updates, and tell us about your store!
Follow @plasmicapp on Twitter for the latest updates.